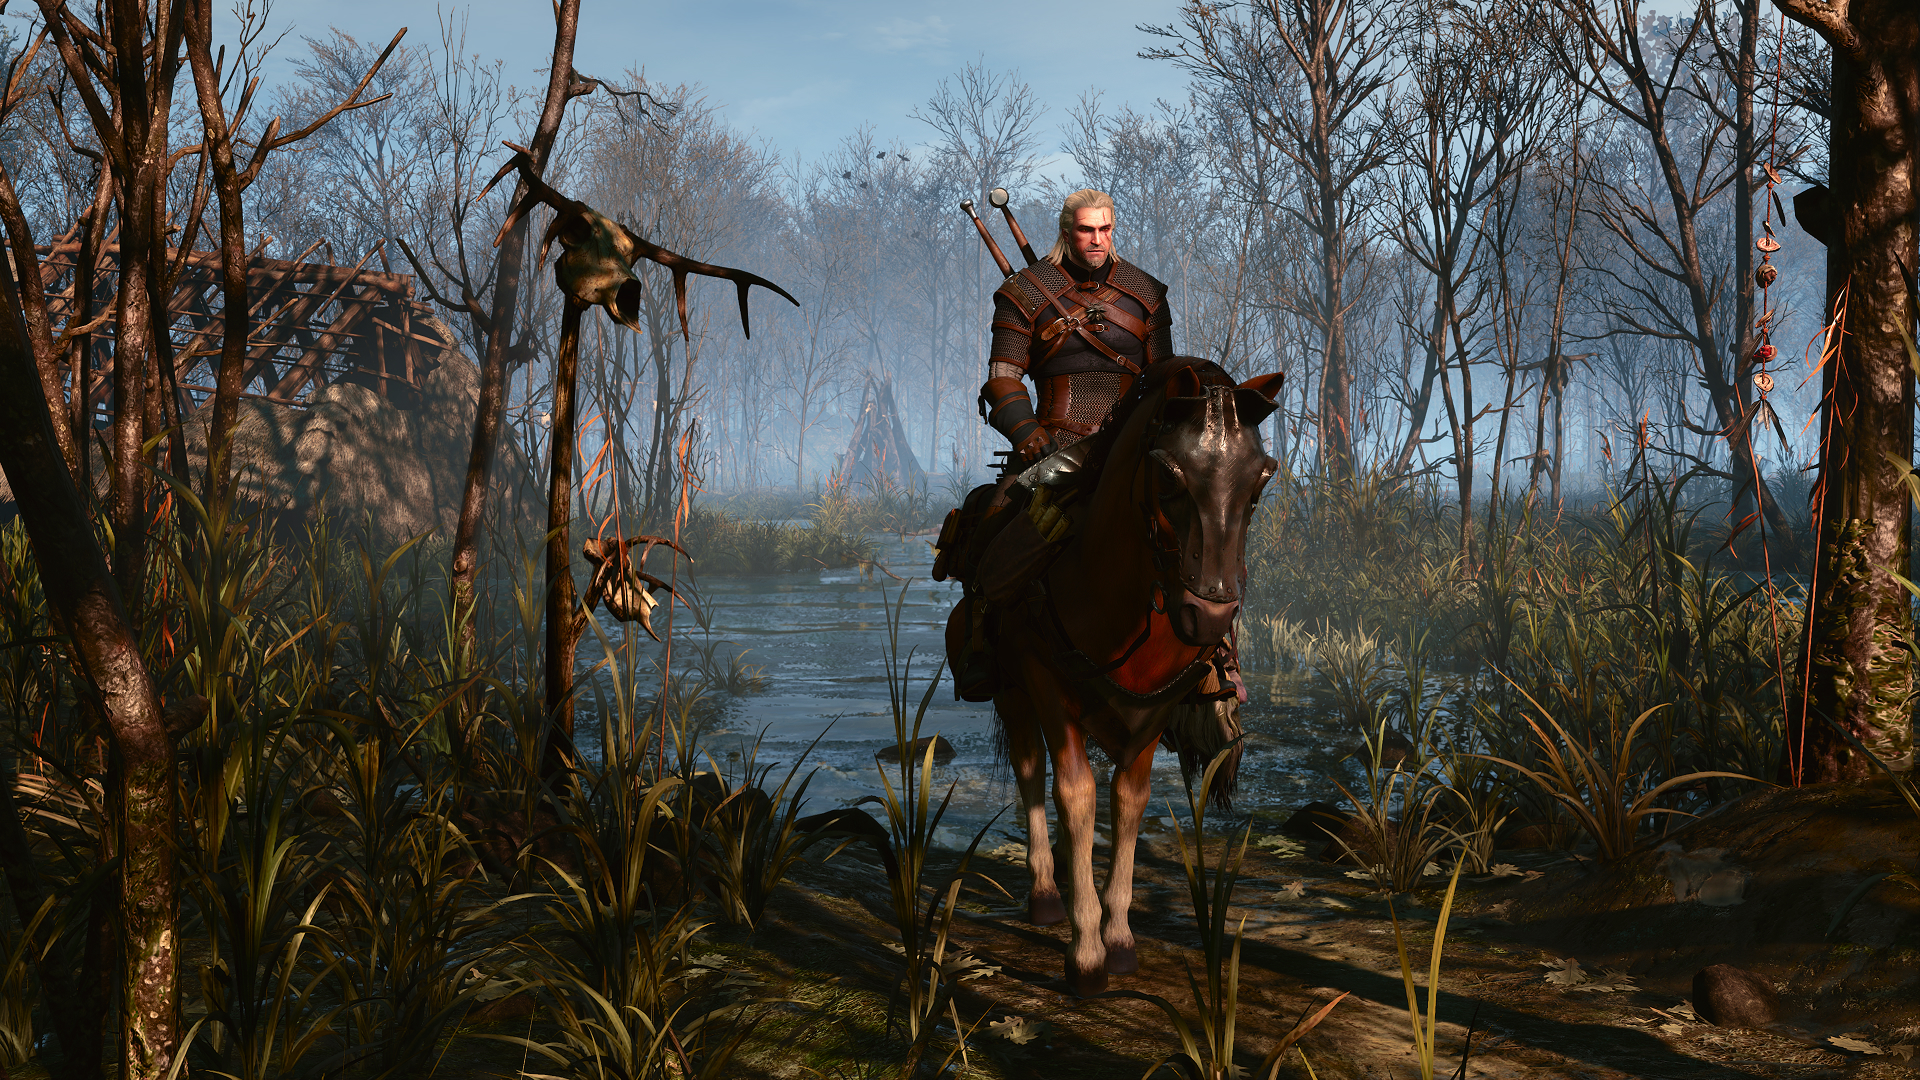
The Witcher 3 Devil by the Well: Complete Quest Guide
Master The Witcher 3 Devil by the Well contract with our expert guide. Learn to track the Noonwraith, uncover the tragedy, and claim your rewards.
Updated: The Witcher 3 Wiki Editorial Team
Video Guide
The Witcher 3 - Devil by the Well (Evidence, Bestiary, and how to GET OUT of cave!)Table of Contents
The Witcher 3 is renowned for its immersive storytelling, and the "Devil by the Well" contract serves as a masterclass in introducing players to the life of a monster hunter. As one of the first major side quests you encounter in White Orchard, this mission teaches you that solving problems in The Witcher 3 isn't just about swinging a sword—it’s about investigation and preparation.
Understanding how to navigate the "Devil by the Well" contract is essential because it rewards players with crucial experience points and loot that make the early game significantly easier. By following the clues left behind in the abandoned settlement, you will uncover a dark, tragic tale that sets the tone for the entire series.
Starting the Quest and Gathering Information
To begin this journey, head to the White Orchard notice board or speak directly to the quest giver, Odolan. He is a local villager distressed by his daughter's illness, which was caused by drinking contaminated river water. The only clean water source, the village well, is currently haunted by a vengeful spirit.
Negotiating is a key mechanic in The Witcher 3. When speaking with Odolan, feel free to haggle for a higher coin reward. Most players find that asking for approximately 25-27 Crowns is a fair and achievable range before accepting the contract.
Action
Goal
Why It Matters
Notice Board
Pick up the contract
Essential for quest triggering
Dialogue
Haggle with Odolan
Maximizes early-game income
Meditation
Change time to Noon
Noonwraith appears at specific times
Investigating the Haunted Settlement
Once you arrive at the abandoned village, use your Witcher Senses to scour the area. The ghost, a Noonwraith, won't stray far from the well, but fighting her without preparation is a recipe for disaster.
Community reports emphasize the importance of reading the Bestiary entry for the Noonwraith before you attempt to clear the quest. If you skip this step, Geralt may fail to identify the specific object tethering the spirit to this world. You need to investigate the nearby houses, specifically looking for:
The Yellowed Diary: Provides the narrative context regarding the tragedy of Claer and her lover.
The Corpse: Crucial for identifying the spirit’s remains.
Blood Stains: These tracks reveal what happened to the victim and how she was dragged to the well.
Tip
Essential Preparation
Before heading back to the well, ensure you have crafted Specter Oil and have the Yrden sign ready. These are your most effective tools for keeping the Noonwraith trapped and vulnerable to your attacks.
How to Defeat the Noonwraith
The boss fight against the Noonwraith is a test of your combat mechanics. The creature is physically ethereal, meaning your sword swings will pass through it harmlessly unless you have applied specific tactics.
Combat Strategy Checklist
Cast Yrden: This magical trap is your most important asset. Lure the Noonwraith into the circle; once inside, she loses her immunity and takes full damage.
Use Specter Oil: Applying this to your silver sword provides a significant damage boost against spectral entities.
Dodge, Don't Parry: Noonwraith attacks are fast and can blind you. Use the dodge (B button) to stay mobile and keep the spirit within your Yrden zone.
Managing Clones: When the spirit splits, she is regenerating health. Quickly strike the clones to stop the healing process.
Vulnerability
Item/Sign
Effect
Physical Form
Yrden
Immobilizes and makes corporeal
Damage Output
Specter Oil
Increases sword damage vs Specters
Crowd Control
Moon Dust Bomb
Prevents the wraith from turning invisible
Uncovering the Final Truth
Burning the remains and the bracelet happens before the final Noonwraith fight: it summons the spirit for the decisive encounter. After defeating her, loot the remains and return to Odolan to report the completed contract. An earlier daytime encounter is not a substitute for this investigation and summoning sequence.
However, the story does not end there. A deeper narrative awaits if you visit the local herbalist, Tomira, located west of the town. Mentioning the name "Claer" to her provides a special dialogue path that offers insight into the tragedy and grants you extra supplies like Saltpeter and Hellbore Petals. For a detailed breakdown of the game's mechanics, you can always refer to the official The Witcher 3: Wild Hunt Steam page.
Rewards and Loot Summary
Successfully completing this quest nets you more than just gold. The following table breaks down the typical rewards you should expect from this mission.
Reward Type
Quantity/Value
Note
Experience Points
50 + 50
50 for the fight, 50 for turn-in
Crowns
20–27
Depending on your haggling skills
Alchemy Supplies
Various
Includes Saltpeter and petals from Tomira
Trophy
1
Provides a passive bonus to loot
Frequently Asked Questions (FAQ)
Q: Why can't I hit the Noonwraith in The Witcher 3?
A: The Noonwraith is intangible. You must use the Yrden sign to place a trap on the floor. Luring the spirit into the trap makes her vulnerable to your silver sword attacks.
Q: Do I have to give the coin back to Odolan?
A: No, you don't have to. You can choose to accept the coins or turn down the payment. If you refuse the payment, you may receive an Amethyst instead, which is a rare gem for early-game crafting.
Q: I am stuck in the well area, how do I get out?
A: Many players miss the exit. Look for a white-painted ledge inside the underwater section of the well. Swim towards it and use the climb interaction (B button) to pull yourself up to dry land.
Q: Can I skip the investigation phase?
A: While you can technically jump straight into the combat, investigating the houses and reading the diary is highly recommended. It provides necessary items like the bracelet that are required to fully banish the spirit and complete the quest objectives.